Building a telemedicine waiting room with Twilio Video
Time to read: 7 minutes
July 31, 2020
Written by
Reviewed by

Telemedicine is rapidly changing the healthcare industry. COVID-19 concerns aside, being able to see a doctor’s face without having to commute is a game changer.
Twilio Video allows developers to craft HIPAA-compliant telemedicine solutions that are fully under your control and tailored to your patients’ needs. Today I’ll show you how to make a telemedicine app using Twilio Video that lets you show a “virtual waiting room” where the patient can hang out until their doctor arrives. For the sake of simplicity, let’s build the front end in vanilla JS without a framework.
At a high level, here’s the steps we’ll be following:
- Set up a back end to control access to the application
- Set up basic front end scaffolding
- Build the provider experience
- Build the patient experience
For impatient types who want to skip straight to the code, the whole project is on GitHub.
Prerequisites
- A developer environment where you can run Node.js code
- A Twilio account - sign up for a free one here
Setting up your environment
Start a new Node.js project by running npm init --yes from the command line.
Create a .env file at the root of the project where we’ll store your Twilio account credentials.
Go to the Twilio console and copy your account SID into the .env file.
You’ll also need some video specific credentials. Those credentials allow you to generate an access token, which tells Twilio’s servers that your end users have the right to connect to this video application that is tied to your account.
On the Programmable Video Tools page, generate an API key and secret. Copy those into the .env file as well.
You should have a file that looks like something like this:
You can’t store credentials on the front end, because that exposes them to malicious actors. So our app will need a back end to generate the video access token.
Building the back end
We’ll use Express to power our server. On the command line, run npm install express to add Express as a project dependency. While you’re at it, run npm install dotenv to install the library we’ll be using to read our credentials from the .env file. For more information about working with environment variables in Node.js, check out this blog post. One last dependency we’ll need is the Twilio SDK, so run npm install twilio too.
At the project root, create a file called server.js where our server code will live. Copy the following code into it:
Here, we have added the boilerplate code for running an express server. We’ve added a route that takes an identity string and generates a Twilio Video access token.
Since the token route takes a GET request, we can test it right in the browser.
In your project directory, run the following command to start the server:
Load http://localhost:1337/token?identity=tilde in your browser. You should see a response similar to the following:
Nice job!
Building the front end
Let’s add a front end so the patient and provider can actually videoconference and see each other. What is the minimum viable product for telemedicine with a virtual waiting room?
- The patient and provider should be able to connect and disconnect to audio/video
- The patient should be able to interact with a “waiting room” experience if they have joined but the provider has not
- The app should not show the waiting room when the provider and patient are both joined
- Showing or not showing the waiting room should remain in the correct page state even if the provider or patient disconnects and returns
Create a public folder at the root of your project, which is where the front end will live.
Add the following empty files in the public folder:
patient.html: the page where the patient will join fromprovider.html: the page where the provider will join fromindex.js: JavaScript that is shared between both pages will live hereindex.css: sprinkling a lil’ styling on this bad boy
Adding the provider page
Let’s make the provider page first since it’s a bit simpler.
Copy the following code into provider.html:
In order to serve this page, we need a little server-side logic.
In server.js add the following code:
This code exposes URLs for the patient and provider pages, and also allows our app to access the files in the public folder as static assets so we can apply our CSS.
Go to http://localhost:1337/provider in the browser and you should see something like the following:
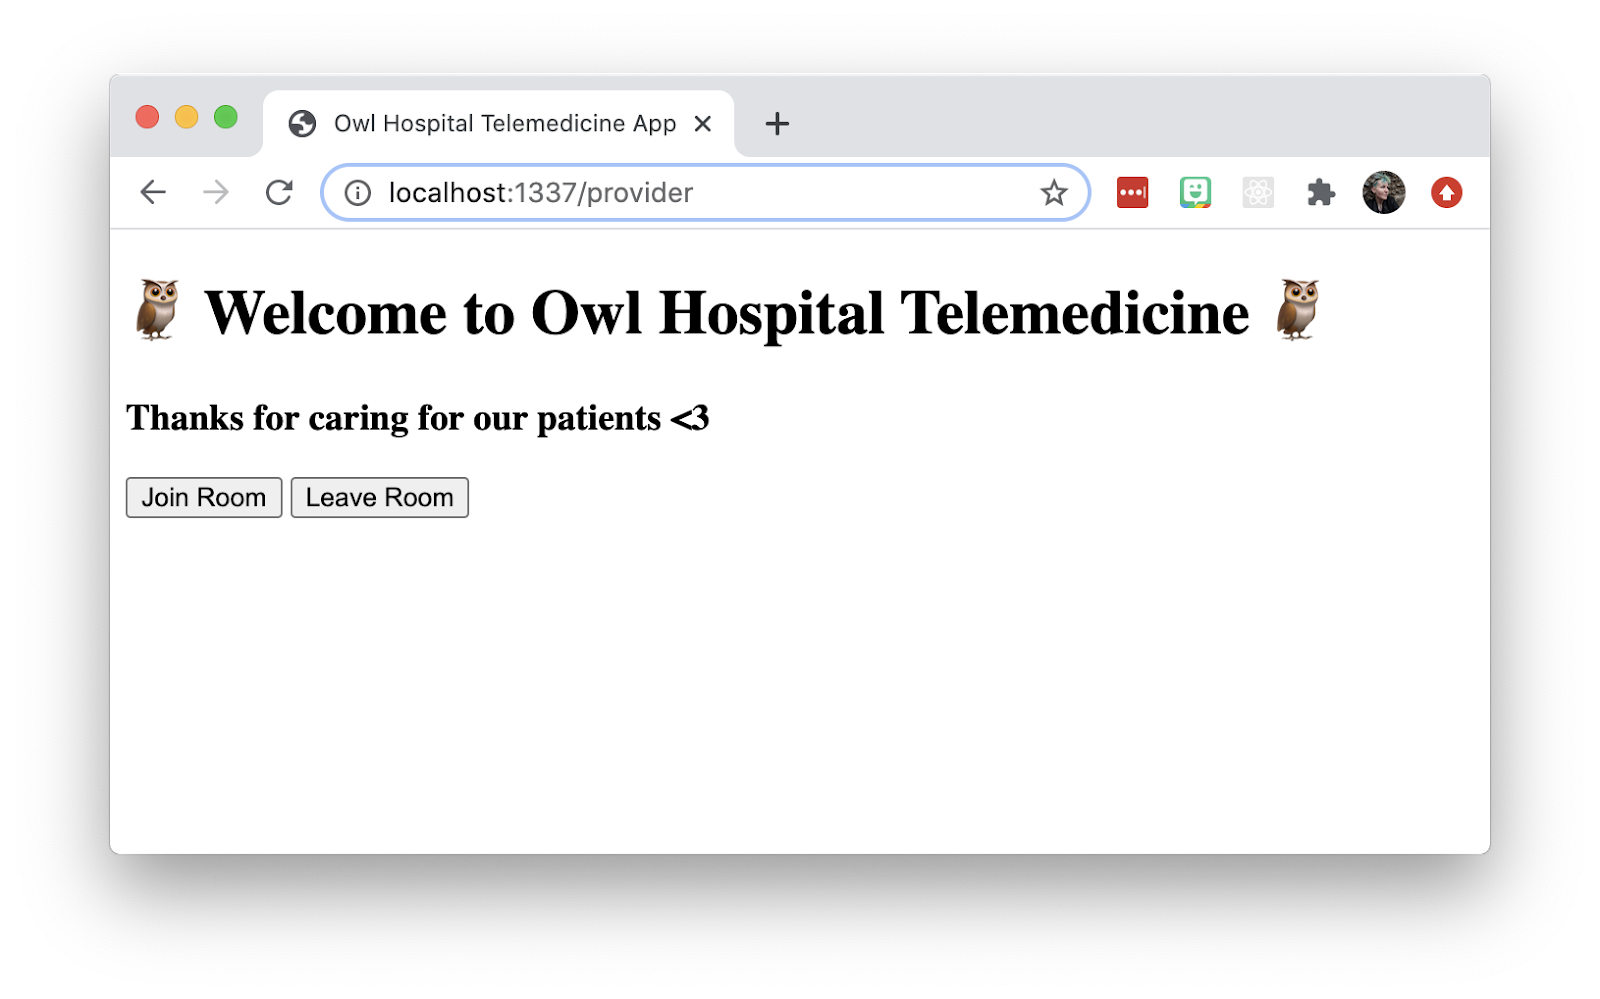
Note that we are hard coding the names of the patient, provider, and room here just for the purposes of simplicity. In a production-ready telemedicine app that would scale to handle multiple simultaneous appointments, these pages would be protected by an authentication flow, and you’d be pulling the names of the users from your database instead of hard-coding them. You’d also need some kind of server-side logic to generate unique room names for each different appointment.
Anyway. Let’s make this a little less ugly, shall we?
Open up public/index.css and add the following code:
If you reload the page, it should look like this:
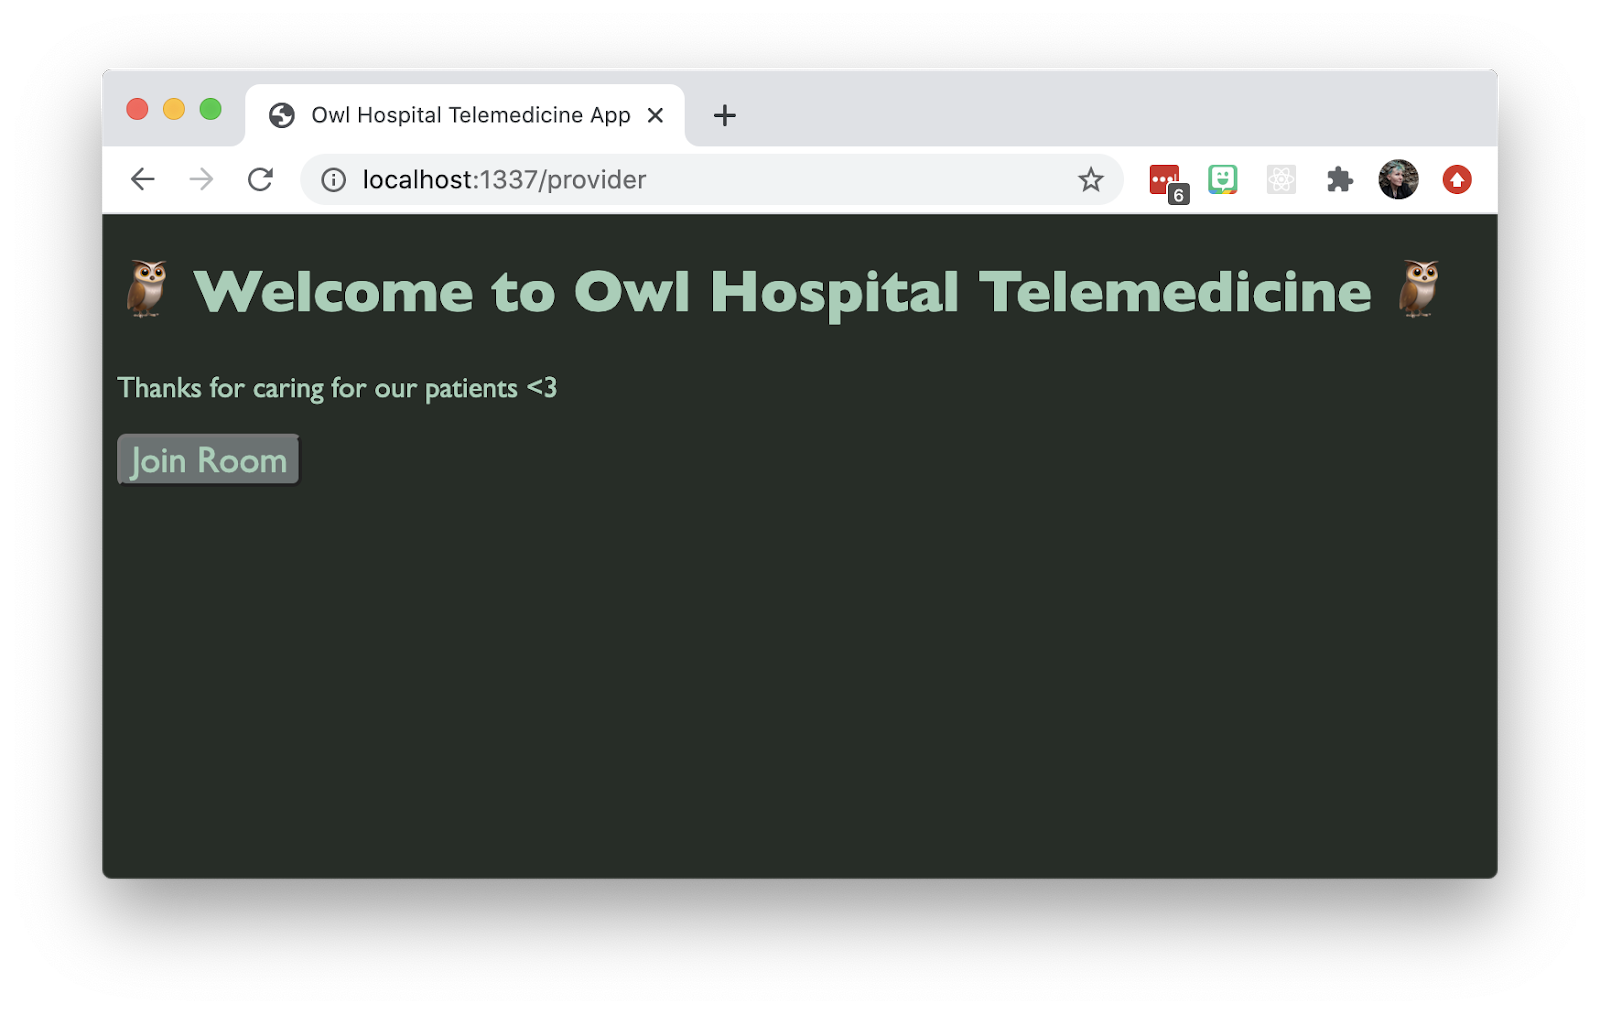
Isn’t it amazing how a little change to the fonts and colors makes a dramatic difference to how an app feels? The woodsy palette seemed appropriate for an owl-themed hospital at any rate.
This CSS also lets us show and hide elements by applying the hidden class to our HTML.
Our provider page still doesn’t do anything so let’s fix that.
Joining a video call
Open up public/index.js and add the following code (I’ll explain what’s going on next):
What the heck is going on here?
There are some concepts you have to know in order to understand the Twilio Video APIs:
- A room is a virtual space where end users communicate.
- A participant is a user who has or will enter a room.
- Tracks are information that is shared between participants. There are different types of tracks, such as audio, video, or data.
- Tracks can be local or remote, as those kinds of data need to be handled differently. You wouldn’t want a user’s own video to make a round trip to the server when displaying it in their own browser.
- Track information is shared between participants using a subscription model.
First we fetch the access token from our server. Then we connect to a room by calling the connect method.
We use the browser’s APIs to grab local audio and video, and then pass that information into the room we’re creating.
After the user connects to a room, we need to attach their local audio and video tracks, which means turning them into HTML media elements with the Twilio Video SDK. After we’ve done that, we can append them to the DOM.
We’re not done yet. If other participants are already in the room, we need to subscribe to and attach their video and audio tracks. Also, we must set up event listeners to do the same for future participants who are joining.
Finally, we need to clean up and remove elements and subscriptions when a participant leaves the room. It’s only polite, and your garbage collector will thank you.
The toggleButtons method is a little helper function to show and hide the Join Room and Leave Room buttons, saving the user the trouble of fumbling for the correct one.
Next we’ll modify our provider HTML to take advantage of this code we just wrote.
At the bottom of public/provider.html, add the following lines:
Here we import Twilio’s client-side Video SDK as well as the JavaScript file we just wrote. Then we attach listeners to the buttons to do the right thing when the provider enters and leaves.
Try this out by navigating to http://localhost:1337/provider in your browser again and clicking the Join Room button:

What do I look like, a doctor? I wish I had a stethoscope or something to make this a little more authentic.
We’re getting there! The code for the patient experience comes next.
Building the virtual waiting room experience
Open up public/patient.html and add the following code into it:
It's pretty similar to the provider HTML, except we have a hidden div that contains the waiting room experience.
In keeping with the owl theme, I chose a soothing campfire video to play for the patient. But if you are running a punk rock hospital you could consider showing Fugazi's "Waiting Room" instead.
Next we'll add some inline JavaScript to:
- Let the patient join and leave the video room
- Check if the provider is in the room when the patient joins, so we can show the waiting room (or not)
- Subscribe to future participants joining so we can show and hide the waiting room appropriately
- Stop the waiting room video if it's playing (that would be really distracting!)
Add the following code to the bottom of public/patient.html:
Try it out by going to http://localhost:1337/patient and clicking the Join Room button.
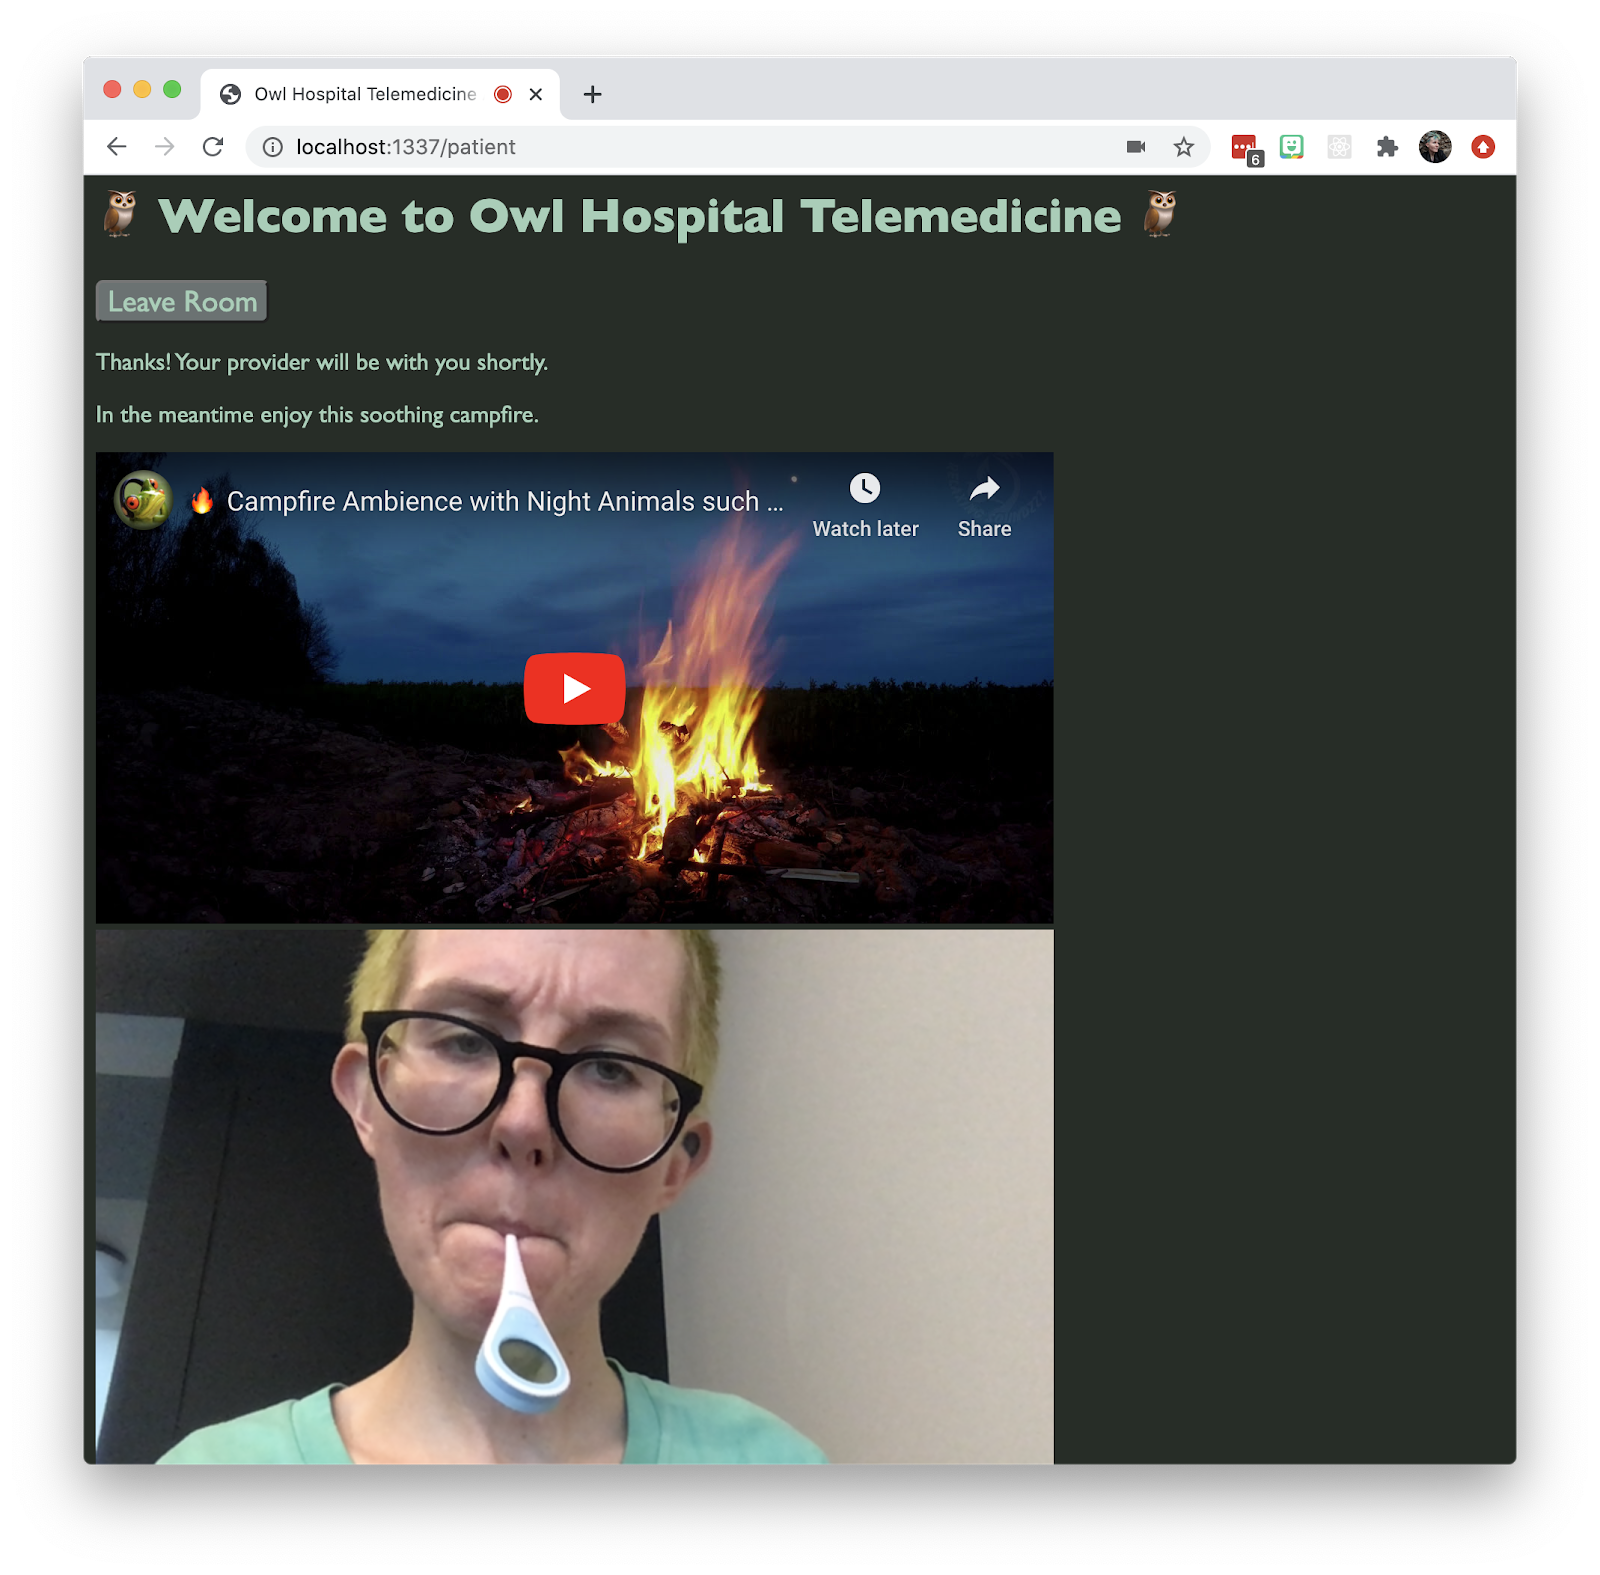
I’m much better at cosplaying a patient than a doctor.
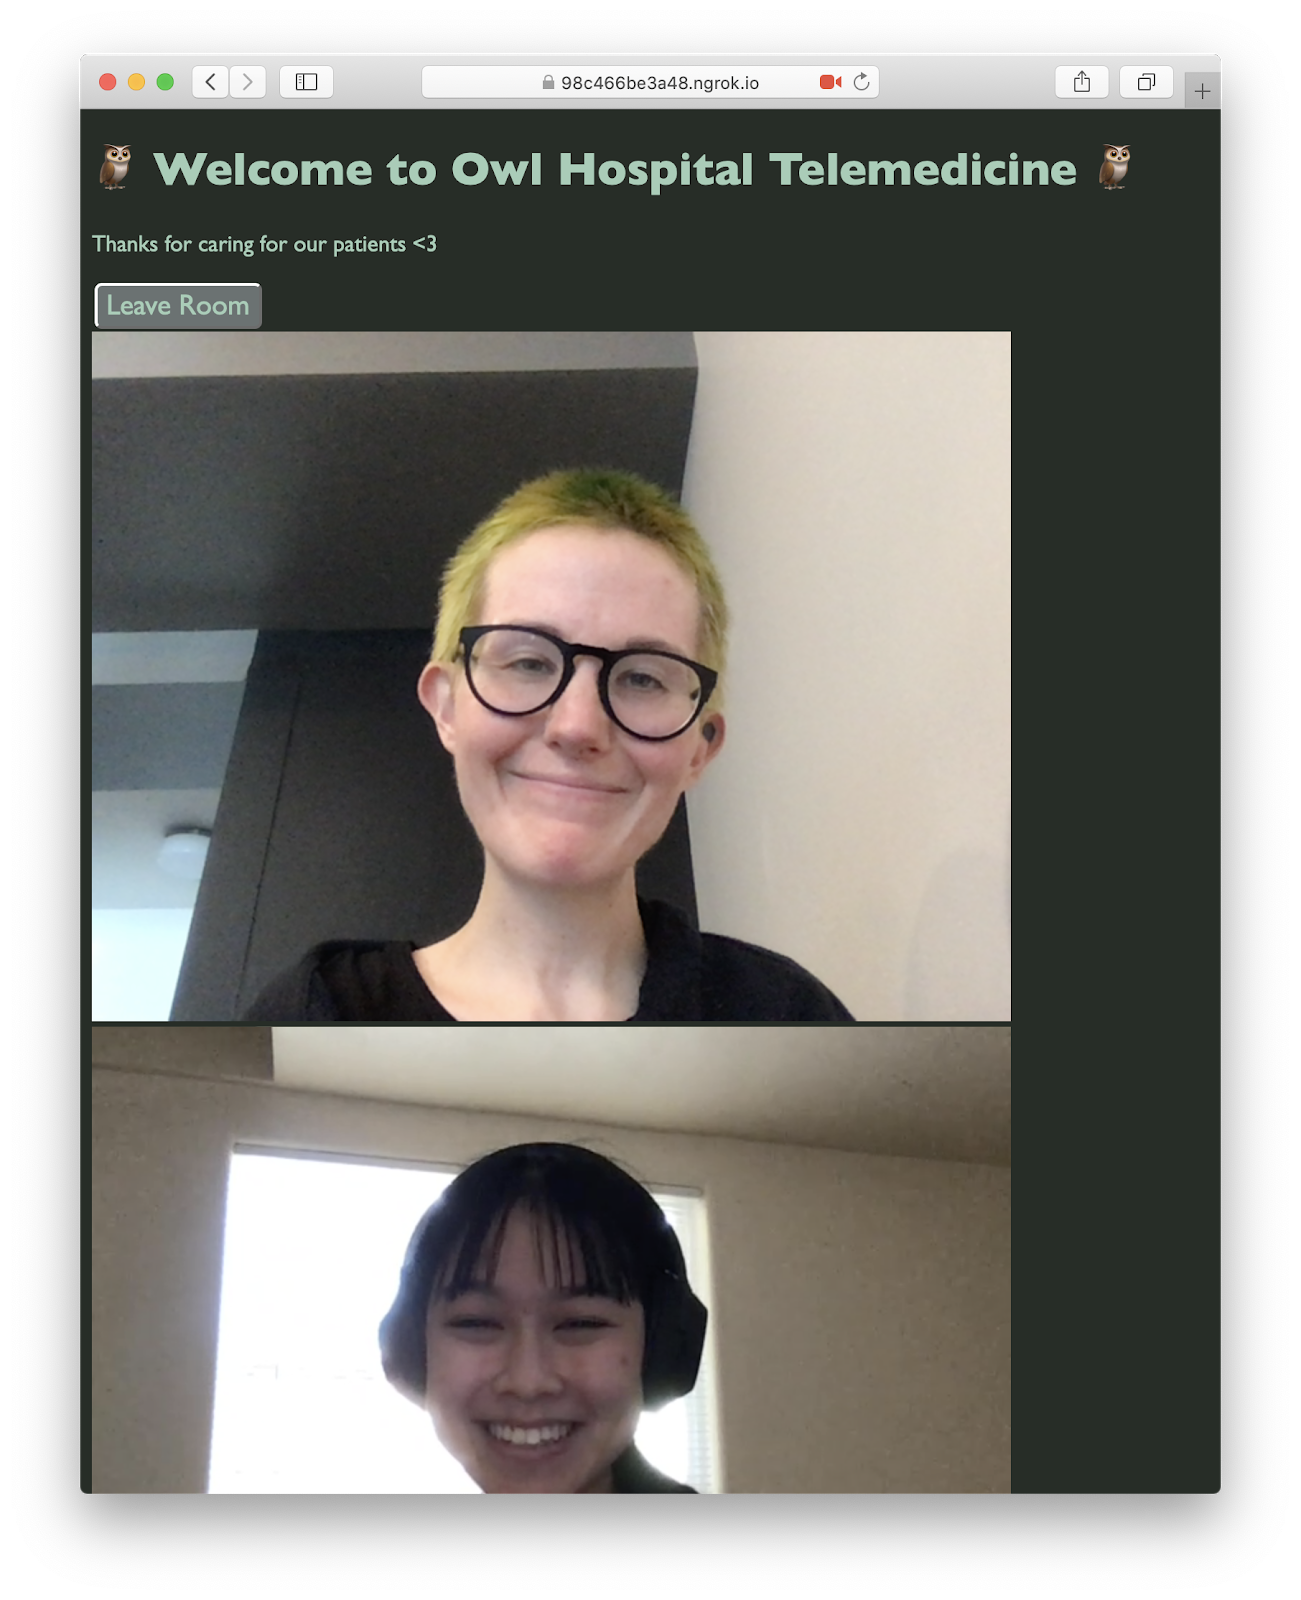
If you go to http://localhost:1337/provider and join as a provider from another tab or browser, vóila! The waiting room disappears and the video stops.

Conclusion: building a virtual telemedicine app with a waiting room
Let’s review what we’ve learned today:
- How to create a Twilio Video access token with Node.js and Express
- How to show a local participant’s audio and video elements on a page
- How to show a remote participant’s audio and video elements on a page
- How to show and hide elements on the page when participants enter and leave a video room
This waiting room experience is admittedly pretty basic. There are so many add-ons you could imagine to make telemedicine truly innovative and awesome, such as:
- If the provider is running late, let them send a text message to the patient
- Instead of the waiting room video, have the patient fill out a health questionnaire form
- Sent pre-appointment reminders over SMS or email
- The ability to send a link to a 3rd party so they could easily join the video chat, which would be great for translators, relatives, caregivers, etc.
- Recording and transcribing audio from visits
- Integration with 3rd party charting software to remind the patient to perform follow-up tasks
Telemedicine use cases have never been more urgent and I can’t wait to see what you build. If you’re a developer working on healthcare apps, I’d love to hear from you. Hit me up in the comments below or on Twitter.

Related Resources
Twilio Docs
From APIs to SDKs to sample apps
API reference documentation, SDKs, helper libraries, quickstarts, and tutorials for your language and platform.
Resource Center
The latest ebooks, industry reports, and webinars
Learn from customer engagement experts to improve your own communication.
Ahoy
Twilio's developer community hub
Best practices, code samples, and inspiration to build communications and digital engagement experiences.