Building a React Powered Video Chat
Time to read: 4 minutes
March 31, 2016
Written by

One of the most challenging conversations in software development is debating the modernization of an existing application. In fact telling your boss that you want to rewrite something in a new technology may not always end well.
But with so many new and better frameworks like React being released every day, there are definitely times where it makes sense to bite the bullet and go green(field). Thanks to React’s focus on modular and reusable components, replacing existing pieces of your application with self contained React components actually makes modernizing a brownfield application much easier, even fun.
We’ll see how simple this is by taking the Twilio Video Quickstart and replacing the conversation piece of the application with a React component. If you want to skip to the end result you can grab the completed code from GitHub.
Tools
Before we get started we’ll need to install and gather the following.
- Node.js to run the application.
- A Twilio account (sign up for a free account here).
I’ll also assume you have a basic understanding of how React works. If you’re just beginning with React I’d suggest checking out my buddy Sam’s blog post for a great introduction.
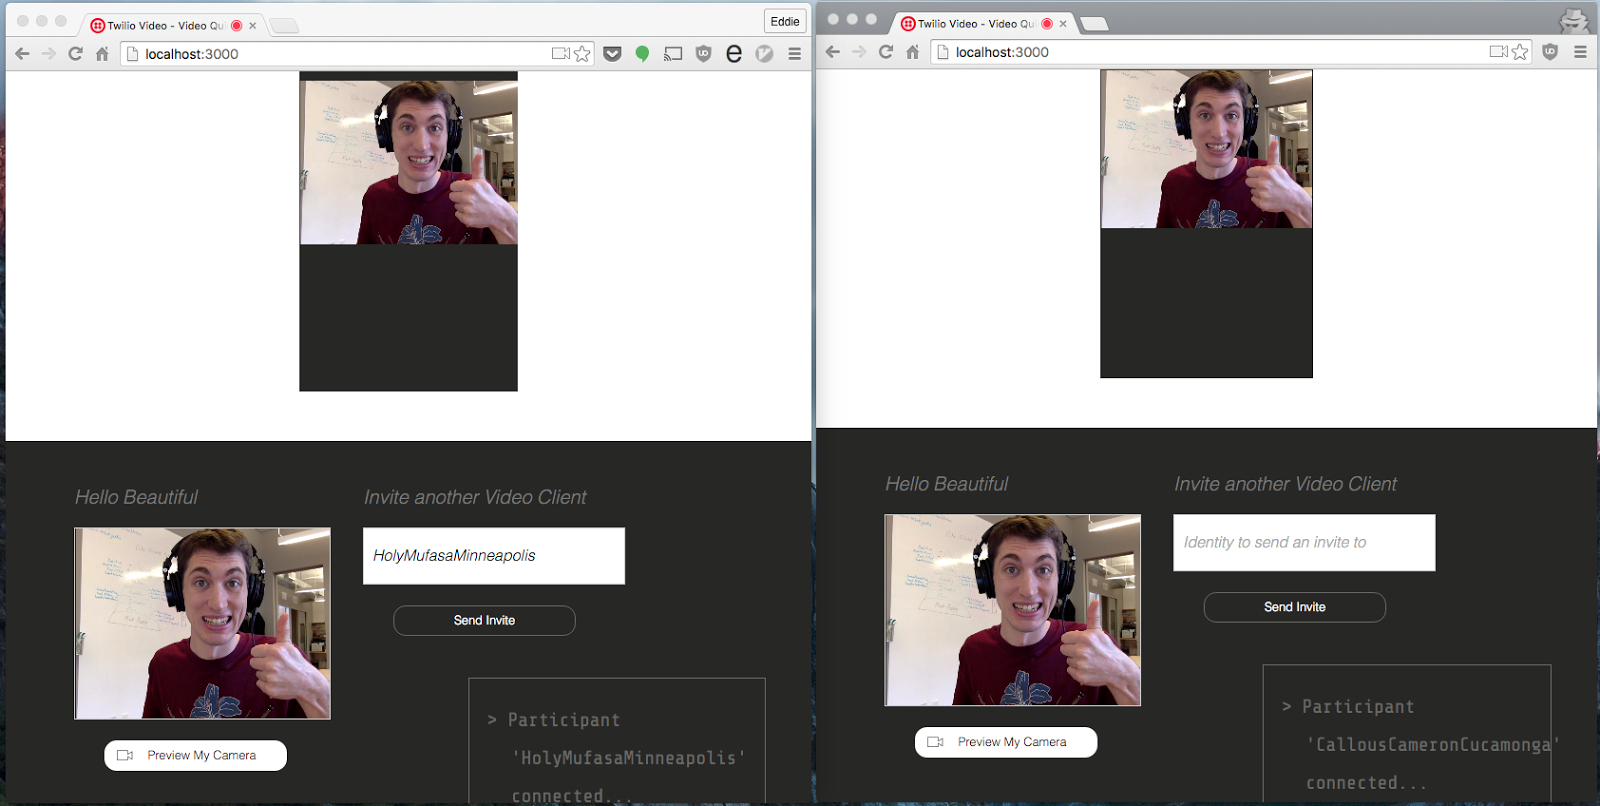
Start by cloning and setting up the Twilio Video Node.js Quickstart which will give us a sample Twilio Video app built with jQuery. We’ll use this a springboard to get started. Run through the README.md which should take about 5 minutes to get the app up and running. Open two browser tabs and start a conversation by pasting the generated identity from one into the other box.
Next we’ll need to install the development dependencies we need to integrate React. The two main packages are Babel and Webpack. Babel is a tool to transform newer JavaScript code to code that can run in modern browsers while Webpack is a module bundler that will smush all of our JavaScript into one file and run the code through Babel. Sam also has a great post on what these packages do if you need more of a dive.
The list is a bit long so brace yourself.
From the Quickstart directory run:
Time To Write Some Code
Let’s get the file we’ll need to configure Webpack and Babel created. This is a very basic config that you can reuse for most projects.
Create the file named webpack.config.js in the root of the project:
Next replace public/index.html with the following.
We’ve included a new css file and changed our script tag to point to the JavaScript bundle that Webpack generates. We’ve also removed the remote-media div and renamed the local-media div to local-conversation. This is where our React component will be mounted.
Now we need to modify the server to use Webpack. Open index.js, import Webpack, the Webpack Dev-Middleware, and the Webpack config we wrote. Then tell Express to use the webpack middleware to compile and serve our client side JavaScript bundle.
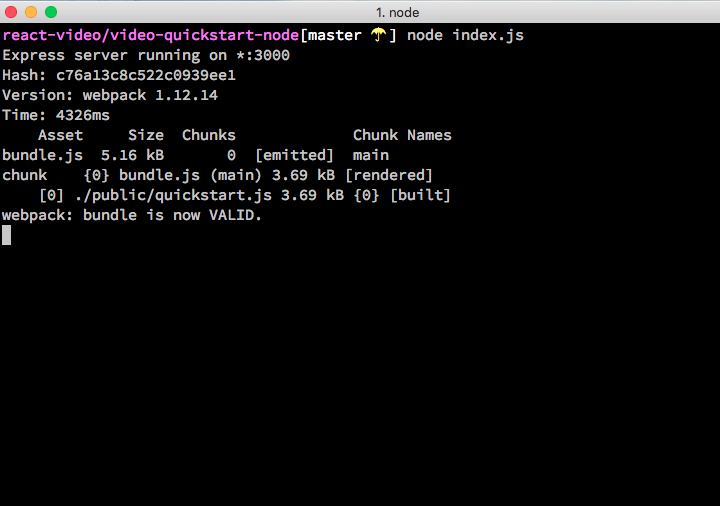
Start up the server and look for the Webpack output as a sanity check.
Frontend Time
It’s time to create our React component which we’ll call ConversationContainer. Our goal is to move as much of the Twilio Conversation logic into our component as possible.
Start by including the React libraries and our future file. Openpublic/quickstart.js and make the following modifications:
Inside of the conversationStarted function is where we’ll want to trigger the mounting and unmounting of the component. Replace the entire function with the following. Notice how we’ve removed the conversation logic; we’ll move it inside the component.
Now we’re ready to create our ConversationContainer React component. Create a new file inside the public folder named conversationContainer.jsx:
This component is very straight forward. It expects an instance of Twilio Conversation passed in as a prop (which is a way to pass data from parent component to child). The render method returns the two
‘s where participant media gets attached. Note the ref= attribute on these div‘s – this makes finding these elements inside of our component a breeze.
The componentDidMount and componentWillUnmount methods now handle the conversation logic from earlier. The lifecycle methods of React components are very versatile and solve a slew of state problems for you.
Finally, let’s add some simple CSS to make sure everything still looks great. Create public/style.css with the following.
We’re now ready to start the application up and test our changes. Fire up the server by running the following.
Just like before, open up http://localhost:3000 in two browser tabs and start a call.
React kicks in immediately and attaches the shiny new component to the DOM. Close one tab and watch the other conversation magically be unmounted and ready to be reused.
Wrap Up
The changes we’ve made may not seem like much. In fact, here’s a diff of public/quickstart.js.
This brevity is spectacular considering we just introduced a new framework to our application.
Slowly replacing pieces of you application with small components like this one is a great way to get started with React. The real power will come as more more components are introduced and state management falls under one umbrella.
Next Steps
- Replace another piece of the application with a React component. Have a go at the invite box.
- Add a new feature to the
ConversationContainersuch as CSS filters for the video. - Let me know on Twitter or in the comments below what you’ve built!
- Hang out with me on Twitch Creative.


Related Resources
Twilio Docs
From APIs to SDKs to sample apps
API reference documentation, SDKs, helper libraries, quickstarts, and tutorials for your language and platform.
Resource Center
The latest ebooks, industry reports, and webinars
Learn from customer engagement experts to improve your own communication.
Ahoy
Twilio's developer community hub
Best practices, code samples, and inspiration to build communications and digital engagement experiences.